Build the OOMWOO open-source robot vacuum
OOMWOO is an open-source robot vacuum that maps with a 2D LiDAR under ROS2 and Nav2, with no cloud service. A Compute Module runs the software, an STM32 handles safety, and the round body is 3D printed. The five phases below follow the build order and say, for each part, whether to buy it, print it or have it fabricated. Budget $80 to $150 on top for the fan, the brushes and the wheel modules, which are sold as vacuum spare parts and by none of the shops indexed here.
AdvancedTarget budget €600.00From €233.93 with the cheapest option at every step
Parts and decisions taken from makerspet/oomwoo github.com/makerspet/oomwoo · Apache-2.0
1 · Printed chassis and rolling gear
Every other module bolts onto the chassis, so it goes first. The reference geometry is a round body of about 349 mm, under a height budget of roughly 10 cm. The exact diameter is still marked as undecided upstream, so anything you print today may need a revision. The project settles the print-or-buy question with one rule: print the geometry, buy the mechanisms and the wear items.
1.Filament for the bodyPrint it
The shell, the bumper shroud, the bin body and the mop disks are printed, and the BoM budgets $5 to $15 of filament. Use PETG rather than PLA for anything that sits near the fan or a motor. A PLA body left in a sunlit room slowly creeps out of shape, and the wheel geometry goes with it.
Assembly
- Start from the oomwoo-one URDF, which carries the reference geometry of the 349 mm round body.
- Split large parts so they fit a common print bed, which is how the project designs them.
- Print the airflow gaskets in TPU if you would rather not source them.


2.Drive wheel modules× 2Buy it
Upstream names this the one part not to print. A spare Roborock pair costs $24 to $33 and arrives as a complete module: gearmotor, encoder, suspension, rubber tyre, cables and wheel-drop switch. The suction fan ($10 to $45) and the brushes ($3 to $30) come from the same aisle, and nothing in this list replaces them. Building the equivalent takes encoder gearmotors, roughly twice the price and a suspension to design.
Assembly
- Print an adapter bracket at most, never the gearbox or the tyre.
- Wire the wheel-drop switch to the MCU, where it triggers a stop instead of just reporting a state.
- Note the encoder counts per revolution before you tune odometry in ROS2.


3.Caster wheelPrint + buy
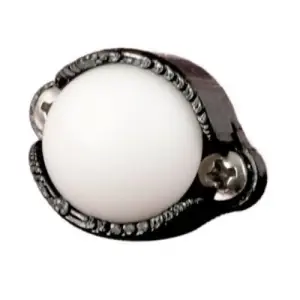
The third support point, and one of the few parts the project lets you simply print. A ball caster bolts onto a printed plate. The push-in Roomba caster costs $2.50 to $5 but wants a housing printed to its exact geometry.
Assembly
- Set its height so the chassis sits level on its drive wheels with the suspension compressed.
- Keep it out of the brush's debris path, or it loads up and the robot starts climbing its own dirt.

RobotShopIn stock
Roulette à Bille Pololu 1 po. avec Bille en Plastique
€7.65Rated 4.8 out of 5, 11 reviews
View at seller ↗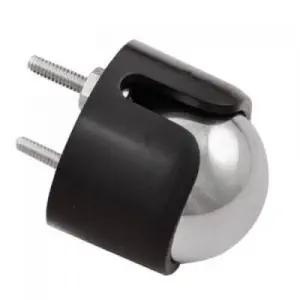
RobotShopIn stock
Roulette à Bille Pololu 3/4 po. avec Bille en Métal
€4.94Rated 4.6 out of 5, 14 reviews
View at seller ↗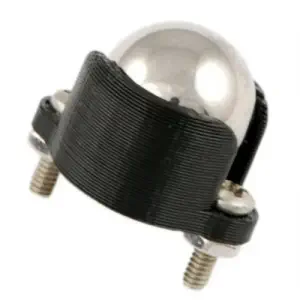
4.Fasteners and heat-set insertsBuy it
M3 screws, standoffs, heat-set inserts and connectors. The BoM counts $12 to $25 for this line, which most builders forget and which stops the build for a week. The mounting grid pitch is not fixed upstream yet, so buy an assortment rather than a single length.
Assembly
- Fit heat-set inserts wherever a screw will come out more than once, since a printed thread will not survive maintenance.
- Keep one screw family across the whole robot so a single driver covers it.


2 · Compute and real-time control
The work is split across two processors. The Compute Module runs ROS2, slam_toolbox, Nav2 and the robot's behaviour. The STM32 owns the motors, the encoders, the sensors and every safety reaction: it cuts the motors on a bumper hit, a cliff reading or a wheel-drop, current-limits a jammed brush, and watchdogs the CPU. None of those protections depend on Linux having booted. The two processors talk over a custom serial protocol rather than micro-ROS.
5.Compute module (CPU)Buy it
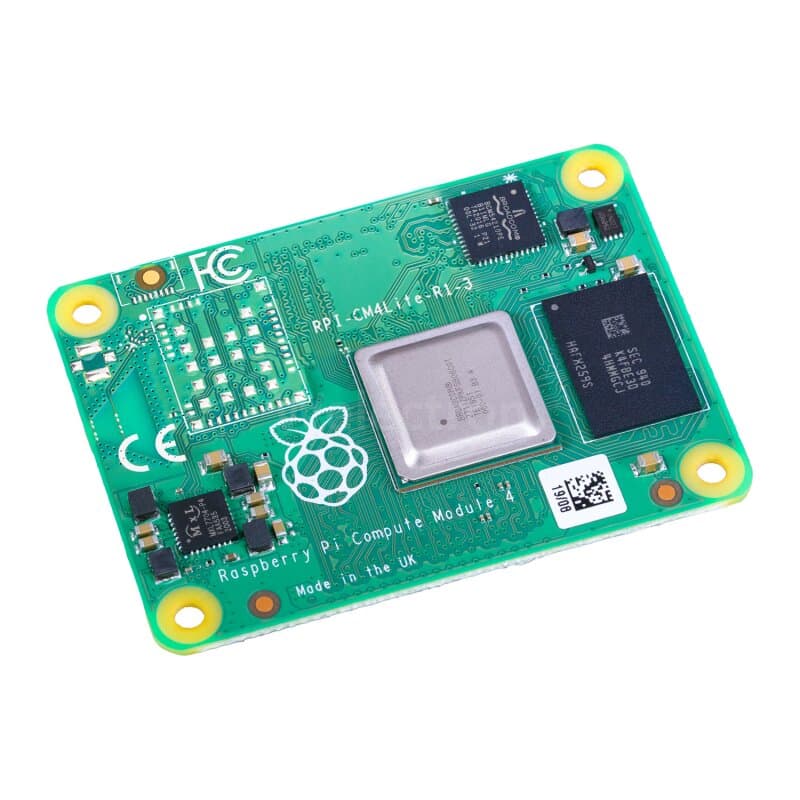
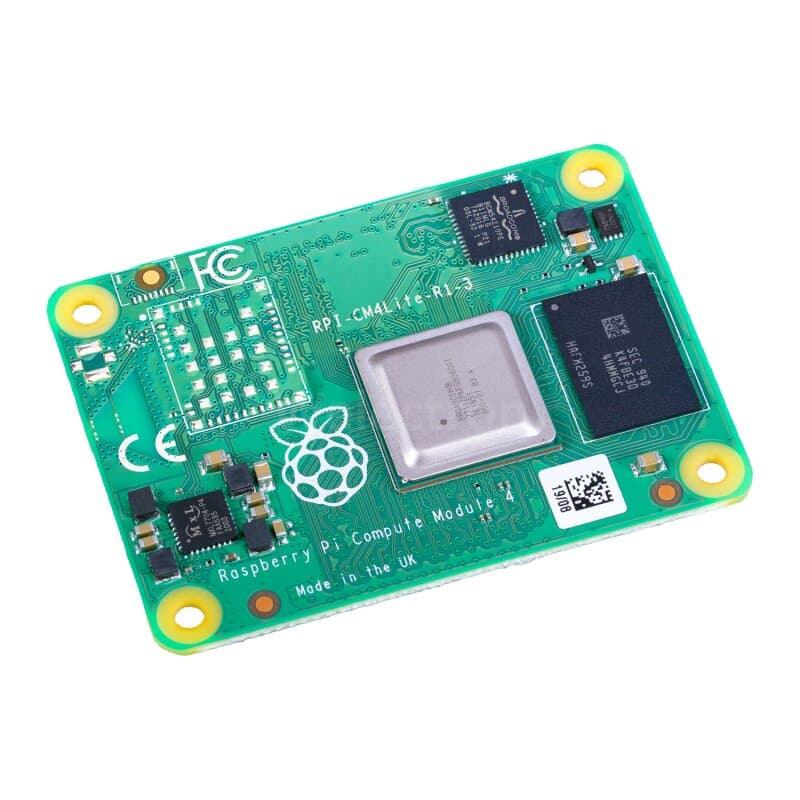
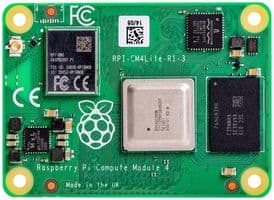
A Raspberry Pi CM4 or CM5, wireless, Lite. The stated minimum target is 4 GB. Fitting the software stack into 2 GB remains a goal with no guarantee attached, so 4 GB is the safe buy. The CM4 pinout being a de-facto standard, pin-compatible modules (Radxa, Pine64, LuckFox) drop into the same slot, some of them with an NPU.
Assembly
- Take the wireless variant: Wi-Fi carries the Home Assistant integration and there is no room for a dongle.
- Plan for no CPU fan. The suction fan's airflow cools the board, as it does in consumer vacuums.
- Attach the LiDAR, the cameras, the IMU and the audio here. Motors and safety sensors go to the MCU.
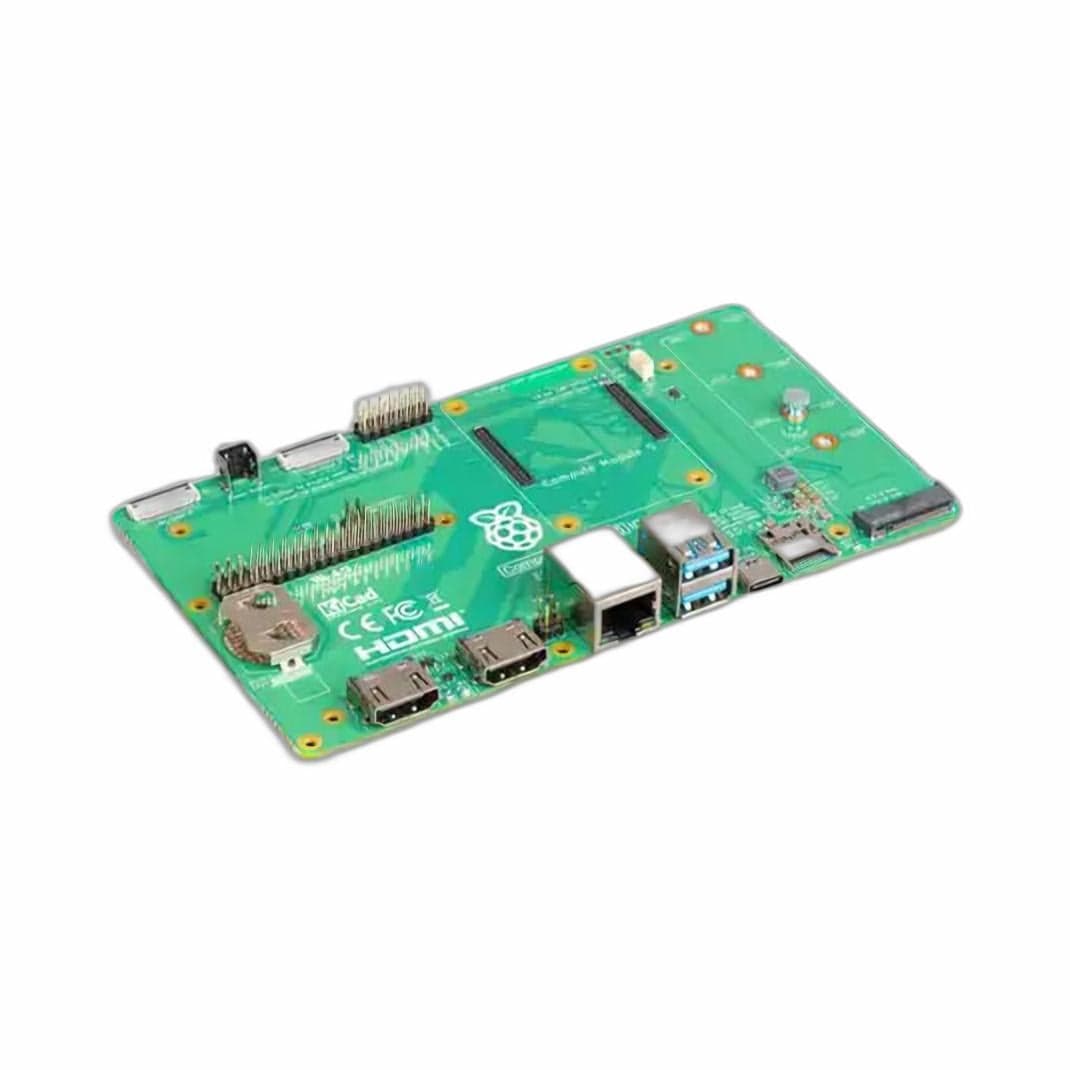
6.Carrier boardBuy it
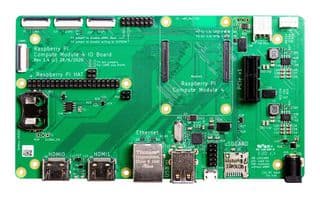
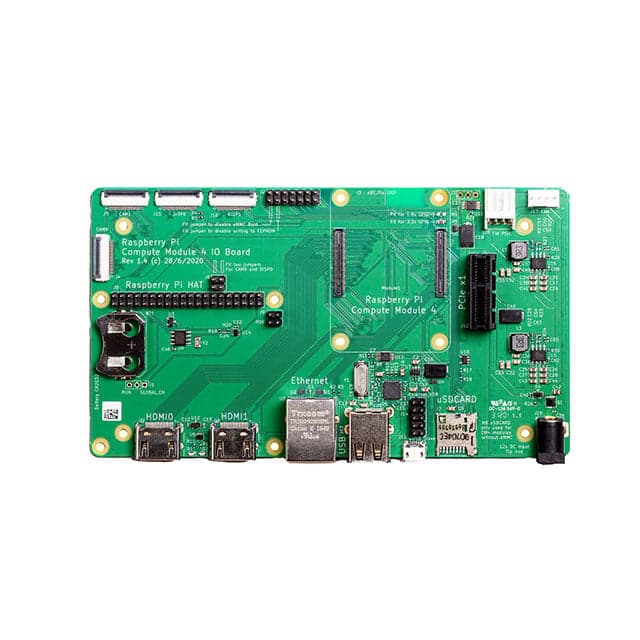
A Compute Module has no connectors of its own. The official CM4IO or CM5IO board gets the software running while the project's own I/O PCB is still being designed. There is a second profile: an ESP32-S3 board in CM4 form factor drops into the same slot and runs micro-ROS, with SLAM offboard on a dev PC. It costs less and depends on your Wi-Fi.
Assembly
- Bring the software up on the official carrier, then move to the project I/O board when it ships.
- Measure the stack height early, since the whole robot has to fit under about 10 cm.


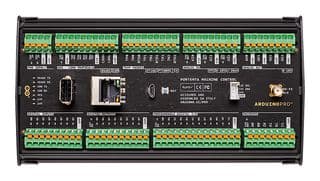
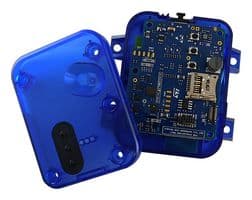
7.Real-time controller (MCU)Fabricated board
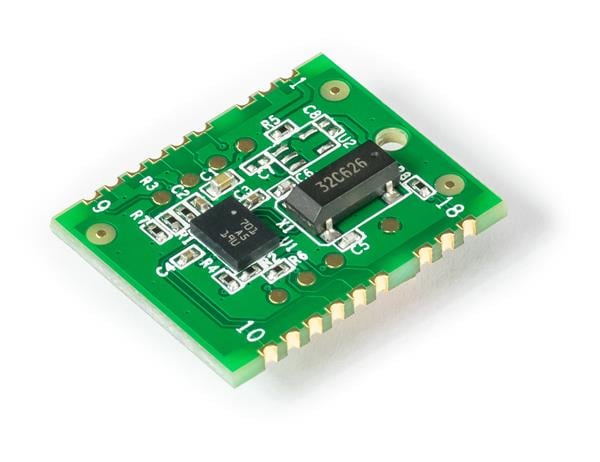
The tentative pick is an STM32G070RBT6: LQFP64 package, about $1 at JLCPCB, 56 GPIO of which 16 are ADC inputs. A robot with six motors and a dozen sensors needs that many pins. It ends up on the project's I/O PCB, costed at around $40 fabricated. Until that board exists, any STM32 dev board is enough to write and bench-test the firmware.
Assembly
- Keep the safety reactions here: bumper, cliff, wheel-drop, brush current limit, CPU watchdog.
- Talk to the CPU over the custom serial protocol. micro-ROS belongs to the ESP32-S3 profile only.
- Wire the CPU-reset line, which the MCU asserts when health packets stop arriving.

8.2D LiDARBuy it
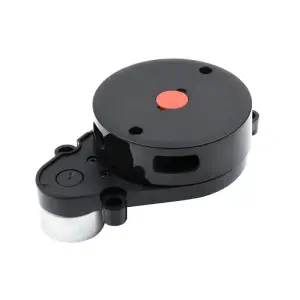
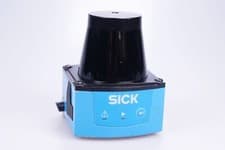
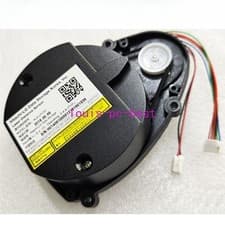
The mapping sensor, on a serial link at about 5 Hz. It also sets the turret height. The BoM shops it from vacuum spare parts between $13 and $32: Camsense, Xiaomi LDS02RR, 3irobotix Delta-2, LDROBOT LD14P. Any model handled by the kaiaai/LDS driver stays interface-compatible. A hobby unit costs three to five times more and arrives documented.
Assembly
- Buy on the PCB marking rather than the vacuum model, since one reference ships with different boards.
- Budget its turret height first, because everything else fits underneath.
- Count on the bumper for the band of floor it cannot see.

9.Inertial unitBuy it
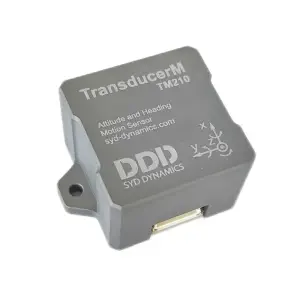
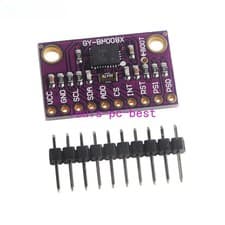
Wheel odometry drifts as soon as a wheel slips on the edge of a rug. Fused with the LiDAR scans, an IMU keeps the map from rotating away over a full cleaning run. It attaches on the CPU side, with the LiDAR and the cameras.
Assembly
- Mount it near base_link, flat and rigid, because a board that flexes adds drift to every scan.
- Keep it away from the motors and the fan, whose fields and vibration are tedious to filter out.

3 · Power and charging
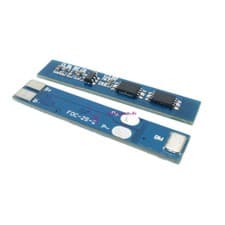
This phase goes through a maintainer safety review before it is merged upstream. The choice is already settled: an off-the-shelf 4S2P Li-ion pack with its BMS inside, 14.4 V nominal, around 5200 mAh for 75 Wh, charged at 16.8 V CC/CV with an NTC temperature sense. Buying the protection instead of building it moves the fire risk off your side of the build.
10.Battery pack with built-in BMSBuy it
4S2P Li-ion, 14.4 V nominal, around 5200 mAh for 75 Wh, with the BMS inside the pack. The OEM BRR-2P4S-5200 class sells for $16 to $30 as a vacuum spare. The project picked an off-the-shelf protected pack to leave over-charge, over-discharge and short protection to the manufacturer. A pack built from bare cells hands that responsibility back to you.
Assembly
- Identify the four pins before wiring: B+, B−, NTC and sense.
- Charge at 16.8 V CC/CV with the NTC read. Without a temperature reading, do not charge.
- Leave the pack's BMS in place instead of bypassing it to gain a few amps.


11.DC-DC railsBuy it
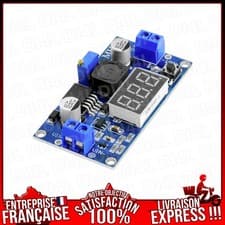
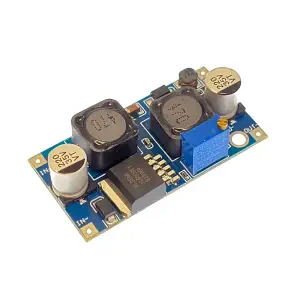
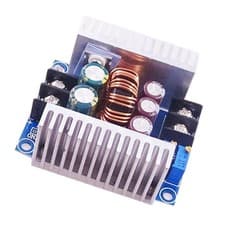
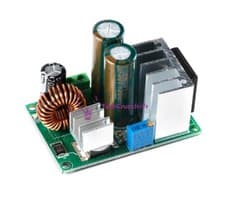
The 14.4 V pack has to feed 5 V to the compute module and 3.3 V to the logic, while the motor rail sags every time the brush jams. Size the 5 V converter on the Compute Module's peak draw rather than its average, or the robot reboots in the middle of a map.
Assembly
- Separate the motor rail from the logic rail so a stalled brush cannot brown out the CPU.
- Add reverse-polarity protection and an over-current fuse at the battery inlet.
- Measure current on the motor rails, where a tangle shows up before the gearbox pays for it.
4 · Safety sensors and perception
A 2D LiDAR sees nothing below its own turret, which leaves about 10 cm of floor unwatched. That band is where cables and socks live. In v1 the bumper and the cliff sensors under the skirt cover it, while cameras stay an experimental track. These sensors wire to the MCU: their first job is stopping the robot, their second is helping it navigate.
12.Cliff sensors× 4Buy it
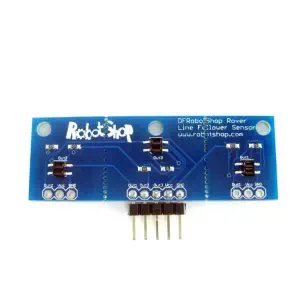
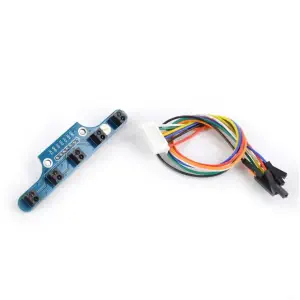
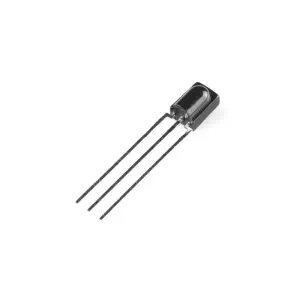
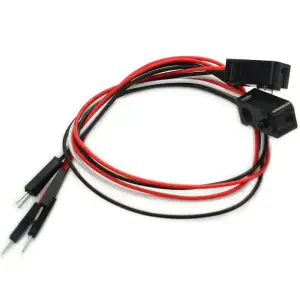
Four IR reflectance sensors under the front skirt keep the robot away from the stairs. The BoM buys them as a Roomba bundle at $1.50 to $2.50 each, with the two bumper switches included in the same bag.
Assembly
- Read them on the MCU's ADC inputs and cut the motors there, without going through ROS2.
- Calibrate on dark flooring: black carpet reflects about as little light as a step, and a badly set threshold freezes the robot mid-room.
- Keep the lenses out of the brush's dust plume, or they foul within weeks.
13.Bumper and turret switches× 4Print + buy
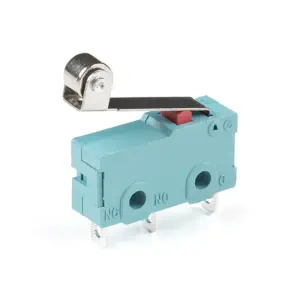
Four SPDT micro switches at $0.70 each around the LiDAR turret, on top of the two bumper switches shipped with the cliff sensor bundle. In v1 the bumper answers for everything the LiDAR cannot see: the floating shroud is printed, the levers and the return springs are bought.
Assembly
- Choose levered switches, because the lever's travel absorbs the shock before it reaches the LiDAR.
- Wire them as a hard stop on the MCU, then report the hit to ROS2.
- Check after printing that the shroud floats freely, or the bumper never triggers.


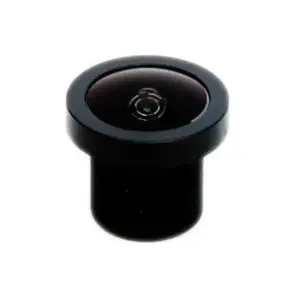
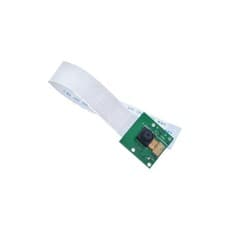
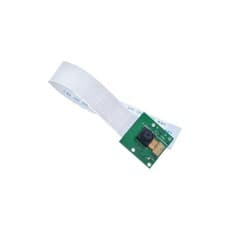
14.Obstacle avoidance cameras× 2Buy it
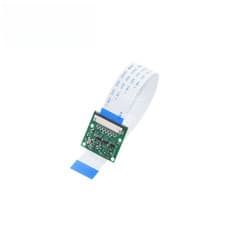
Two OV5647 MIPI modules, 130° field of view, no IR-cut filter, $6 to $7 each. The wording that surfaces them at resellers is "night vision". Upstream is clear about what to expect: reliable obstacle avoidance takes sensor fusion at commercial scale, so the cameras stay an experimental track. The VL53L7CX multizone ToF that would complete them was struck from the BoM as too expensive at retail.
Assembly
- Mount them low and forward-facing, to cover the band of floor under the LiDAR plane.
- Route them to the CPU's MIPI inputs, never to the safety MCU.
- Plan on an accelerator for real-time detection, since CPU-only inference will not keep up.
15.IR receivers: wall and dock× 4Fabricated board
Four TSOP38238-class 38 kHz receivers on two small boards to have fabricated: two wall sensors, each with its 940 nm emitter, and a dock homing sensor carrying two of them. The BoM counts $3 per board. Without them, you fetch the robot by hand at the end of every run.
Assembly
- Shield each receiver from its own emitter, since direct crosstalk makes a wall sensor read a wall that is not there.
- Settle the beacon protocol before printing the dock, as it is still open upstream.
- Order the receivers now even if the dock waits for phase 5, because they cost little and ship slowly.


5 · Suction and mopping, beyond the MVP
The upstream MVP dated 31 August 2026 covers ROS2 on the compute module, the LiDAR, manual mapping, teleop driving, the printed chassis and the Gazebo simulation. It leaves out mopping, docking, auto-emptying and Home Assistant. Buy the parts in this phase when you get there rather than with the rest.
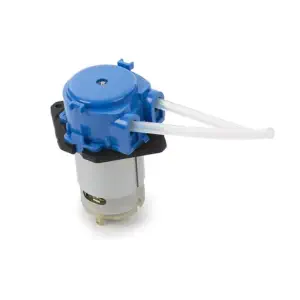
16.Water pumpBuy it
A 6 V peristaltic pump, 50 ml/min minimum, tubing of 2 mm ID and 4 mm OD, $3 to $6 upstream. A peristaltic model primes itself and stops dead, while a pump that keeps dripping leaves a puddle at the end of the run.
Assembly
- Drive it from a low-side MOSFET on the MCU rather than a relay.
- Print the clean-water tank. With spinning pads, the dirty water stays in the pad until the dock washes it.
- Route the tubing above the electronics, never across a connector.


17.Mop lift servos× 2Print + buy
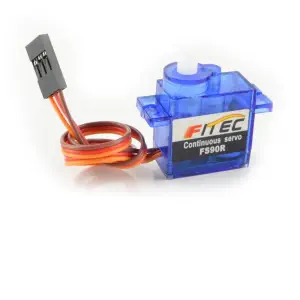
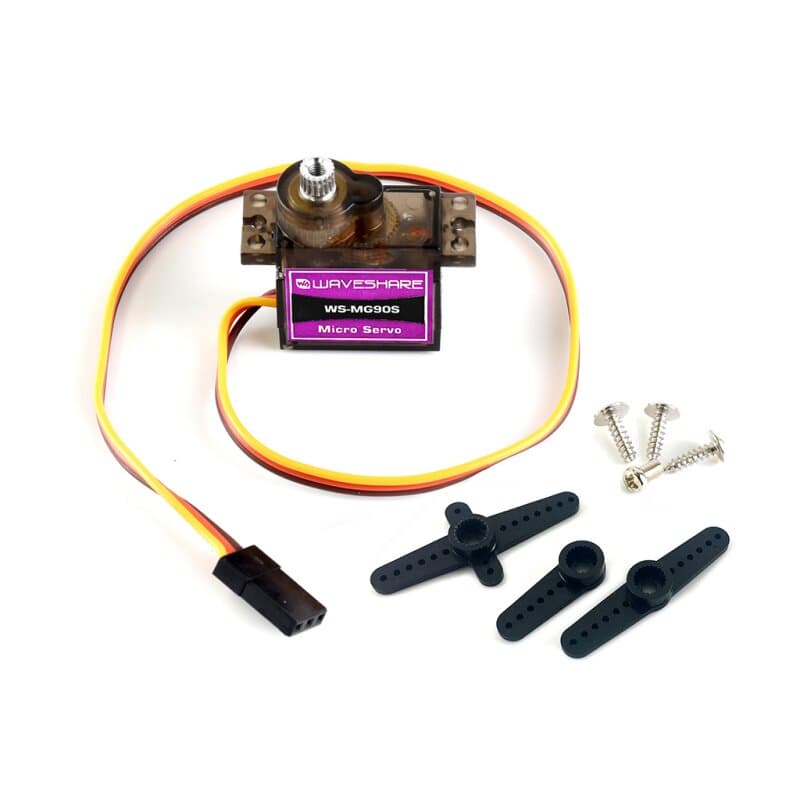
The upstream mop assembly is two RS385 12 V motors for the spin and two MG90S servos for the lift, about $20 the pair, with the rest printed. The ready-made assembly is rare at retail and expensive. Dual spinning pads are the best DIY compromise, and the project deliberately leaves out the self-washing roller.
Assembly
- Choose metal gears, since the lift fires every time the robot crosses a rug, hundreds of times per run.
- Print the cam and the linkage, and buy only the servo.
- Have the lift retract on power loss, so a flat battery does not leave a wet pad on the floor.


Parts are selected by the search engine on price, stock and specifications, never on affiliate commission. Robotitem does not test these products.